We’re here to help you
Introduction
Applications for the automotive industry
Having worked with many of the leading players in the automotive sector, including Jaguar Land Rover, Aston Martin, Nissan, BMW, MINI, IBC Vehicles, Leyland Trucks plus many 1st and 2nd Tier suppliers, we are experienced with all the challenges that the automotive industry presents.
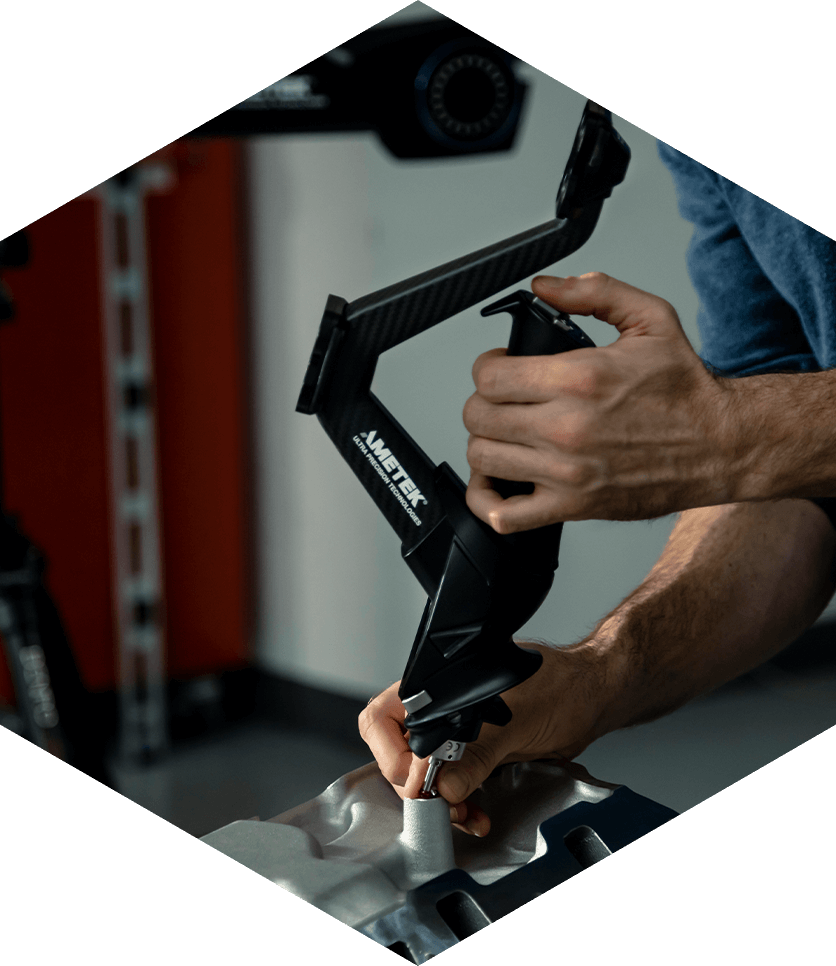
Our vast experience in 3D measurement & analysis, allows us to apply our measurement technologies to various applications including.
- Styling, design and reverse engineering
- Prototyping
- Simulation
- Manufacturing
- Vehicle body assembly
- Quality control & inspection
- Design for aftermarket
- Production control
Working with the leading automotive companies

First Article Inspection
The inspection of first-off parts is essential to any manufacturing process. These parts, considered as prototypes, are typically produced in small quantities and measured against a drawing or compared directly to CAD to verify whether the parts were accurately produced and, when applicable, identify causes of defects.
The automotive industry uses a variety of processes to evaluate components prior to and during production, including ISIR (initial sample inspection reports), PPAP studies (Production Part Approval Process) and APQP (Advanced Product Quality Planning). At Measurement Solutions, we are experienced in the application of all of these processes, and able to provide the right measuring tools and know-how to fully implement the requirements of all of the leading automotive companies.
Compliance Inspection
All parts on a production line are subject to three-dimensional verification. In general, only some critical features are verified, but the use of our advanced measurement technologies enables more data to be gathered quickly to gain far greater understanding and analysis of as-built components and assemblies.
We are able to provide a wide range of measuring systems, including automated CNC CMM’s for measurement of individual components right through to full vehicle body inspection, plus portable CMM solutions for measurement on the shop floor.
Reverse engineering for aftermarket
In the automotive aftermarket sector, extracting dimensions from manufacturers’ parts is critical. This process can help with the design of custom parts like body and suspension kits, engine components or other performance parts, plus vehicle modifications for special applications such as military & security vehicles, emergency service vehicles and bespoke vehicles for disabled persons. In those cases, the general dimensions of the part and especially the vehicle fixing points need to be defined accurately from the existing vehicle.
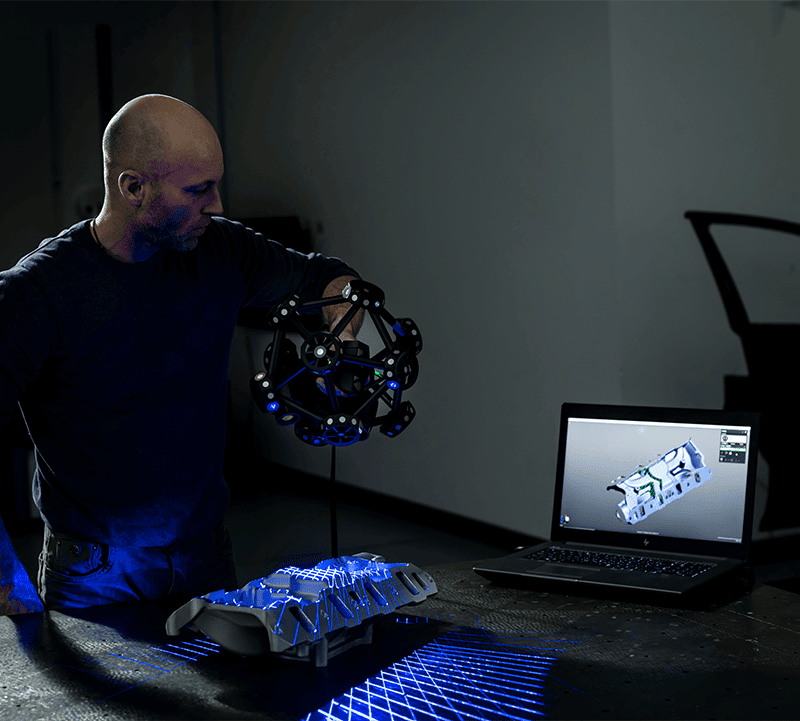
Our range of portable 3D scanning systems enables existing vehicles to be quickly scanned and 3D surface data to be created in order that bespoke parts can be manufactured to fit the vehicle in question.
Product Development
The ability to quickly scan and reverse engineer existing or modelled parts and assemblies can dramatically increase the speed of product development and reduce the time to market for many products. Scan data is ideal for using FEA techniques to analyse complex assemblies by combining a number of materials in realistic operating conditions.
Measurement Solutions offer a wide range of 3D scanning devices, able to tackle any size of object to create high quality scan data for analysis during product development.
Reverse engineering for design
Reverse engineering is a process by which the design of a product is analysed or re-created using a physical part or mock-up as a starting point. This becomes truly valuable when trying to extract the design intent from a handmade model such as a new car design, from discontinued parts or from an old design that was made without a 3D model reference, e.g. rare models, prototypes, etc.
The use of portable 3D scanners can dramatically reduce the time required to acquire 3D scan data for reverse engineering applications, enabling design engineers to have usable data quickly and to reduce the time to market of new concepts.
Design Tooling
At the start of a new production line, design tools (moulds, jigs and assembly tooling) must be periodically inspected, adjusted and calibrated as part of the on-going preventive maintenance and to ensure traceability.
Our range of portable 3D measurement systems play a major role in ensuring that the World’s leading automotive companies deliver the expected levels of performance.
Wear and deformation
During the testing phases of new products, it is often necessary to measure distortions encountered during normal usage, or the results of wear during phases of intensive testing. It is thus necessary to measure the deformation of products, such as fuel tanks during thermal cycles, the movement of exhaust pipes in operation, the deformation of engine mounting brackets, strain during crash tests, wind-tunnel testing, etc.
We are able to provide a range of high accuracy measuring systems that can be used to measure and visualise product deformation under a wide variety of environments.
Book a demonstration
Call us today: 01733 352 252
Book a demonstration
Stay Connected
For the latest industry information sign up to our newsletter today


